
Ah, a new year. What better time to learn a new skill? And the new skill I have my heart set on is bread making…with yeast and everything. I have flirted a bit before with Parmesan Flatbread and Pizza Dough, but now I am talking full-on loaves of crusty, wonderful bread. I know, so scary!
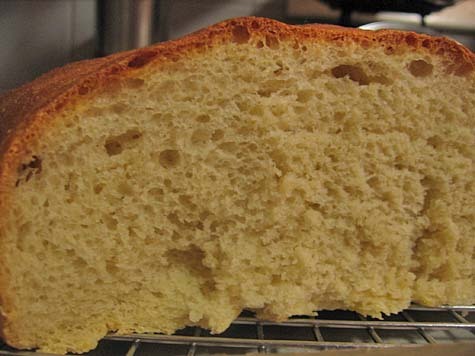
Here is experiment number one. I’ll give myself about a C+.
I’ve started my bread learnin’ at the King Arthur Flour site because I happen have that brand of flour at home and they also have tons of free recipes online. I’m going to try and bake myself through some of their recipes, starting with French-Style Country Bread. I’ll intersperse the original recipe with my photos. Any notes that are mine will be in italics.
Full disclosure: I am kneading with the dough hook on my Kitchen Aid mixer.
Okay, let’s go!
French-Style Country Bread
From King Arthur Flour Online Recipes
Sponge Starter (Begin 2 to 16 hours ahead)
1 cup (8 ounces) cool to lukewarm water, preferably spring water (90 to 100°F)
1/2 teaspoon active dry or instant yeast
1 1/4 cups (5 1/4 ounces) King Arthur Unbleached Bread Flour
1/4 cup (1 ounce) King Arthur White Whole Wheat or Traditional Whole Wheat Flour
Dough
All of the sponge starter (above)
1 cup (8 ounces) lukewarm water, preferably spring water (l00 to 115°F)
3/4 teaspoon active dry or 1/2 teaspoon instant yeast
1 tablespoon sugar
3 3/4 to 4 cups (1 pound to 1 pound 1 ounce) King Arthur Unbleached Bread Flour
1 to 1 1/2 teaspoons salt
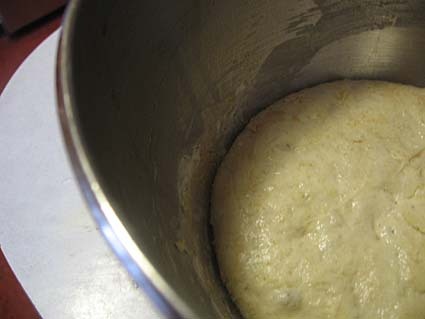
To Make The Sponge: Stir all of the sponge ingredients together to make a thick, pudding-like mixture. I think mine was a little dry. Cover with plastic wrap and leave on a counter overnight or for at least 2 to 4 hours.
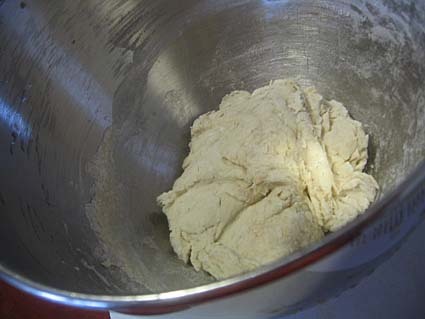
My sponge…she is not like pudding.
If you’re making this in a bread machine, place the sponge ingredients inside, and turn the machine on for just a few seconds to mix the ingredients together. Turn the machine off and close the cover.
Let the sponge rest for 4 hours or overnight (anywhere between 2 and 16 hours is fine, the longer the better). I let my sponge rest about 3.5 hours.
To Make The Dough: Stir down the sponge with a spoon and add the water, yeast, sugar, most of the flour (hold back about 1/2 cup to use if required) — I used 3 cups of flour here, but I think I also had extra dough in my sponge starter, and salt. Knead the dough, adding more flour as necessary, to make a soft dough, 10 to 12 minutes.
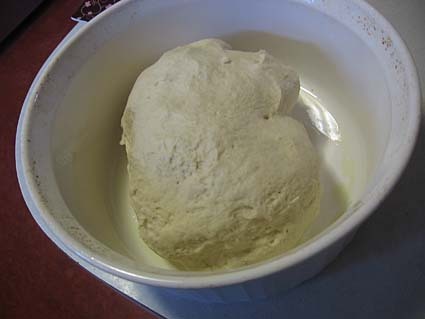
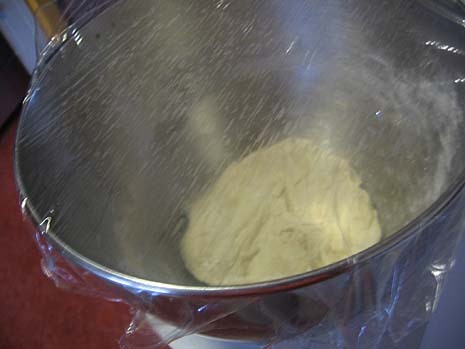
Ready to start rising!
Place the dough in a lightly greased bowl or plastic container, cover with lightly greased plastic wrap and a damp towel, and let it rise until almost doubled (depending on the weather, this could be l to 2 hours). If you’re going out, or if you prefer, let the dough rise slowly in the fridge. If your dough has been refrigerated, allow it to come to room temperature; it’ll warm up and rise at the same time.
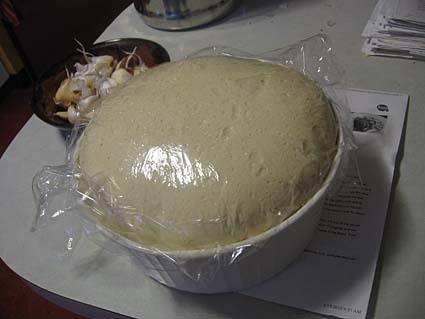
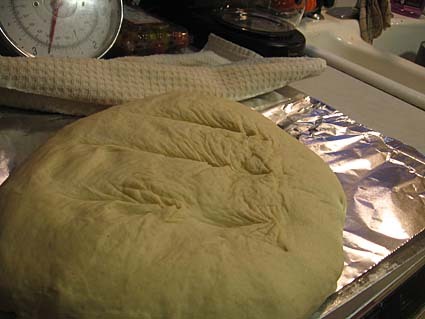
It has risen!
After its first rise, deflate the dough gently, but don’t knock out all the air; this will create those “holes” so important to French bread. Form the dough into a round ball. Place two cookie sheets atop one another, and place a semolina- or cornmeal-dusted piece of parchment paper on top. I just used one cookie sheet and I was out of parchment, I had to use foil.
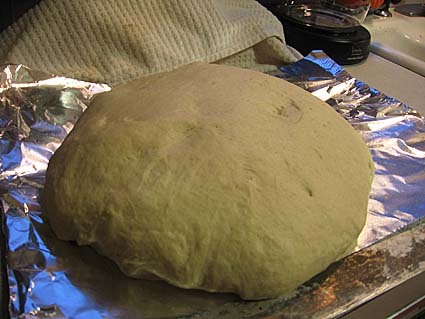
After 2nd rise on the cookie sheet.
Gently place the ball of dough on the cookie sheet, seam-side down. Cover it lightly with a tea towel, and let it rise the second time until it’s puffy and about 40% to 50% larger, anywhere from 45 to 90 minutes (depending on the weather, luck, and magic). Slash or cross-hatch the bread with a sharp knife or lame.
My slashing deflated mine a bit.
Dust it with a little flour. I forgot to dust with flour. Also, mine got a lot bigger in the 45 minutes it rested. It kind of got blob-like. Next time, I may take more care in shaping the original round.

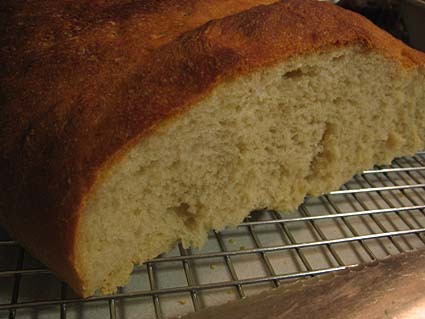
Out of the oven.
For Oven Baking: Preheat the oven to 475 degrees F. After slashing the bread, spritz water into the oven with a clean plant mister, and place the bread in the oven. Reduce the heat to 425 degrees F and spritz with water every few minutes for the first 15 minutes of baking. Bake the bread for about 25 to 30 minutes, or until it tests done. Yield: 1 large round bread or two medium breads.
Notes/Results:
1. I baked my bread on a pizza stone, I just slid the foil onto the stone. I will use parchment next time. I think I’ll continue to use the stone.
2. I had no spritzer, so I had a small baking dish of water in the oven while I baked the bread. Not sure if that helped but I did buy a spritzer. I will use that next time.
3. I measured my flour, next time I will weigh it as my starter was more dough-like than pudding-like. I probably had about 1/2 cup too much flour.
4. I used sea salt, next time I will use regular salt.
5. I will let the starter go as long as possible on the next batch, to try to develop more flavor.
6. Hmmmm, glad I am not doing this too seriously — it’s much more enjoyable when I am not putting that much pressure on myself. If the bread turns out — great! If not, hopefully the next loaf will work.
That said, this loaf (round?) was not bad at all. I didn’t think it had a lot of flavor (that might have been a salt issue, plus not letting the starter sponge go that long) and I wanted bigger holes. That said, I was super, super happy with my rising, though. It rose most excellently! I used Alton brown’s trick of filling a baking dish with boiling water, setting that in the oven (turned off) and putting the dough in there to rise in a nice, humid space.
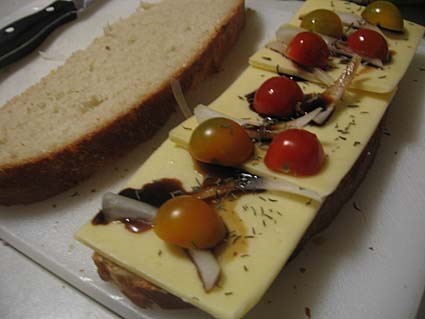
We’ve eaten about 3/4 of the loaf so far, most recently, using the bread for grilled cheese sandwiches (sharp white cheddar, onion, dijon mustard, cherry tomatoes and some balsamic vinegar). Those were really tasty!

Oh and I used some to make croutons for a Caesar Salad. So good! I think this weekend, I’ll attempt another loaf of this French-Style Country Bread.
But next up: Hazelnut Pecan Golden Raisin Baguettes — the starter is going even as I type this!
There is nothing to warm the heart more than freshly baked bread!
So this looks interesting because all the sourdough starters I’ve ever read about have to be kept around and fed. We have 4 dogs, I didn’t need another pet to worry about! I’m excited to make the starter and send it off to to die for a good cause.
Thanks!
noble pig: Thanks! It was good 🙂
RubyJune: Just to clarify, this is a French bread recipe — it isn’t sourdough. The recipe uses a ‘starter’, but again, it’s just French bread. But it was good! Hope you like the bread if you make it, we did! 🙂
Oh that looks so good!!! I have made bread a few times and just the smell filling the house is so worth it. I will try these soon!
Claudine: Thanks! 🙂
I hope you like it if you give it a try. I made a 2nd loaf this last weekend, fixing all the things I thought I did wrong in my first loaf here (in the notes part) and it was SO GOOD!
Glad to see you’ve been bitten by the bread-bug 🙂
Bread baking was what got me into blogging a few months ago, but I’ve been reading your blog for a very long time, could not resist posting a comment now
If I may suggest something – once I learned the method of ‘folding’ the dough instead of kneading, my bread baking improved considerably. Plus, it is a lot of fun to do it this way.
I look forward to your next bread adventure, keep them coming!
SallyBR: Thanks! Yes, I have been bitten 😉
I am going to try the folding method! I have actually just been baking a new loaf of this bread the last few weekends, but I think I am going to try a new bread in a couple of weeks!
A solution for deflating the top when you slash the dough? Use a new, clean razor blade. It works great!